At iPostal1  we are steadfast in our mission to be the best in the business.
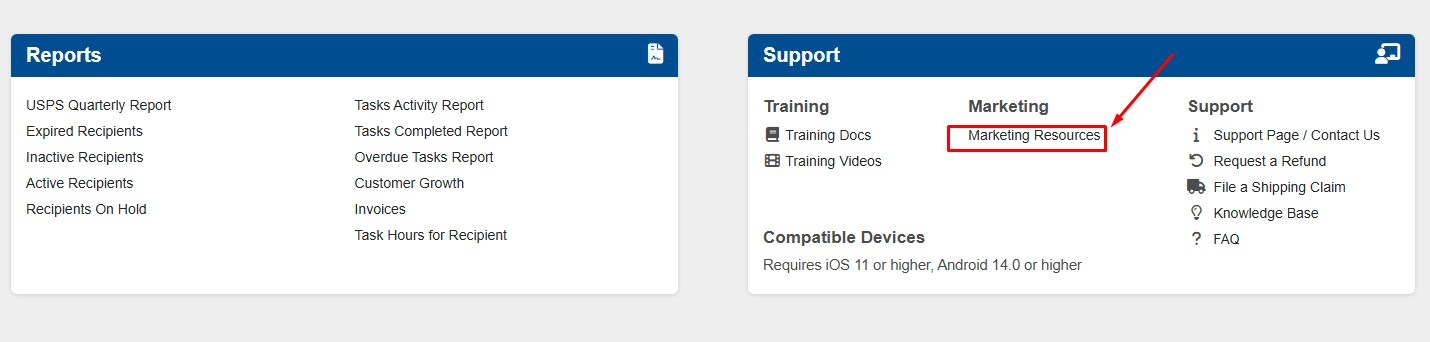
We deeply value our partnership with you and are committed to leading the digital mailbox industry with cutting-edge digital mailbox technology and robust online advertising that is designed to attract and convert top prospects every day ⭐. With thousands of new customers signing up weekly, we leverage advanced analytics and a substantial marketing budget to fuel this success.
Additionally, our talented team of software developers is constantly advancing our technology, pushing the boundaries of what's possible. Our dedication to innovation also means we continuously refine our website content and explore fresh advertising strategies to stay ahead of the competition. We also actively connect with our audience on Facebook, X (formerly Twitter), Instagram, and LinkedIn, ensuring a strong, vibrant online presence.
Together, we're building something truly extraordinary, and we couldn't be more thrilled to have you as a key partner on this incredible journey.🙏


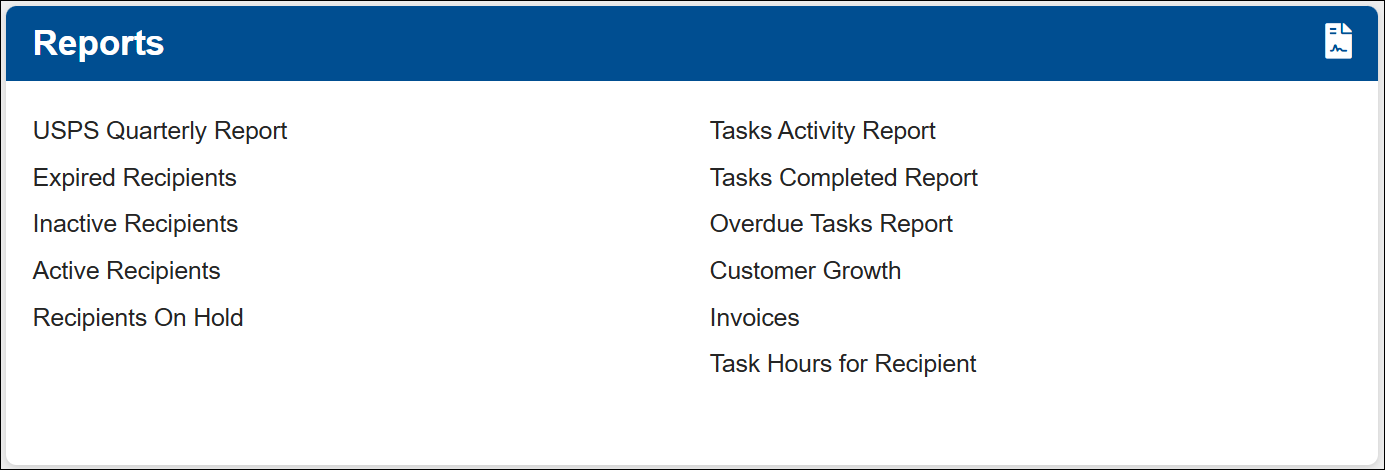


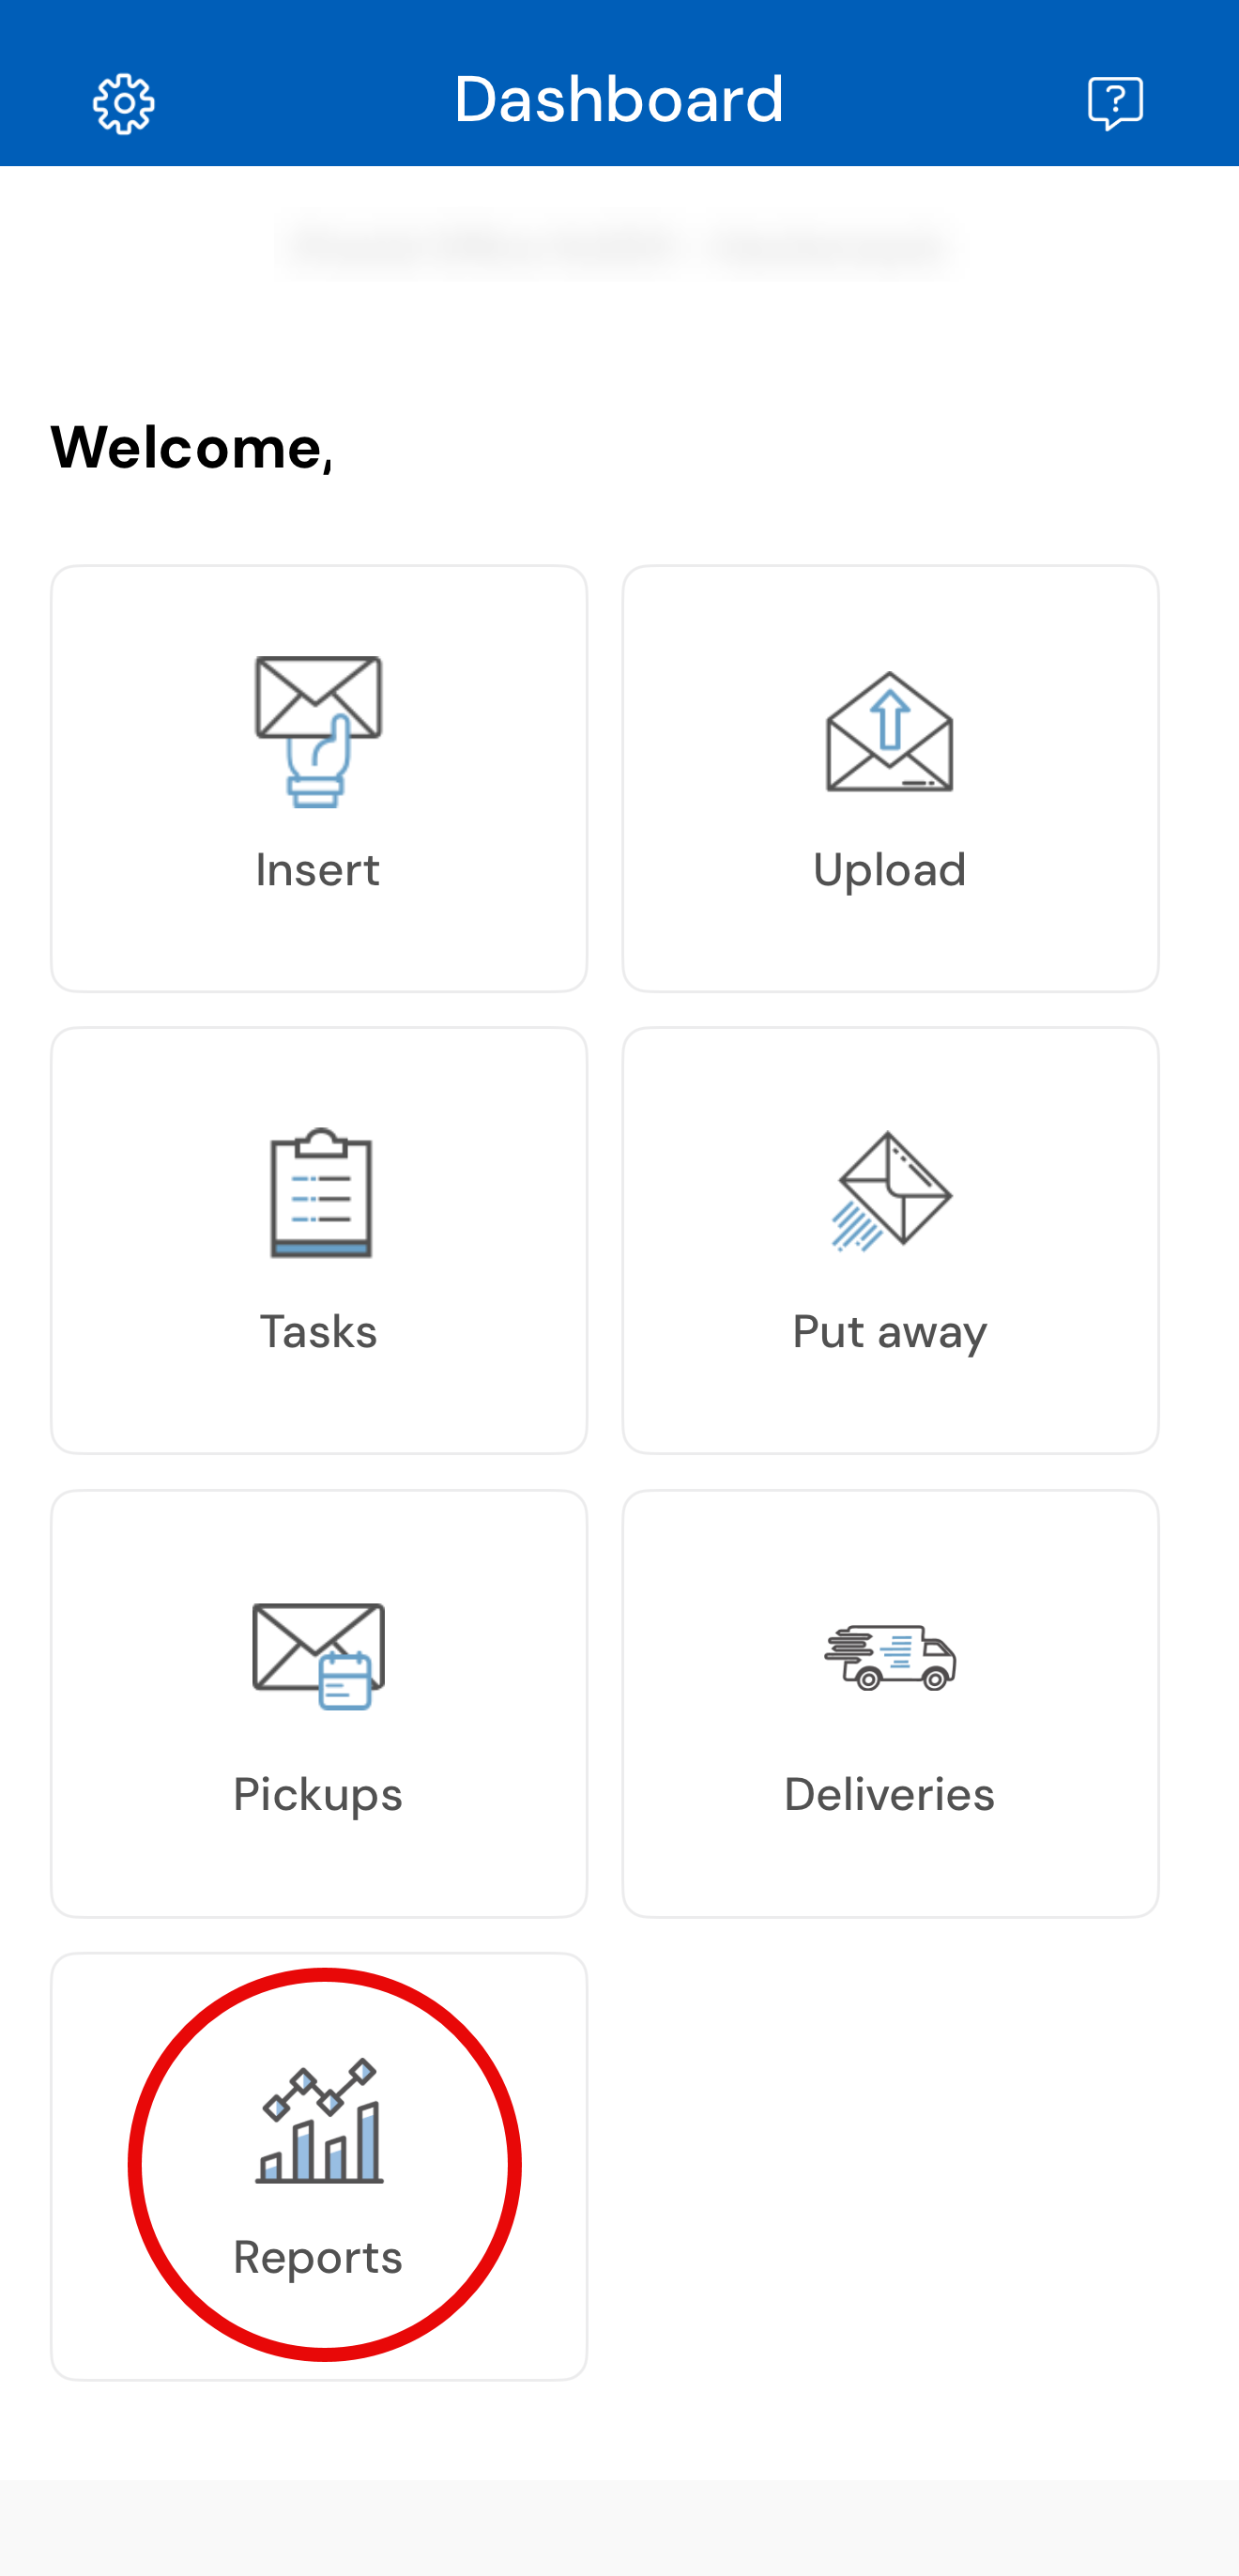


 5.
5.

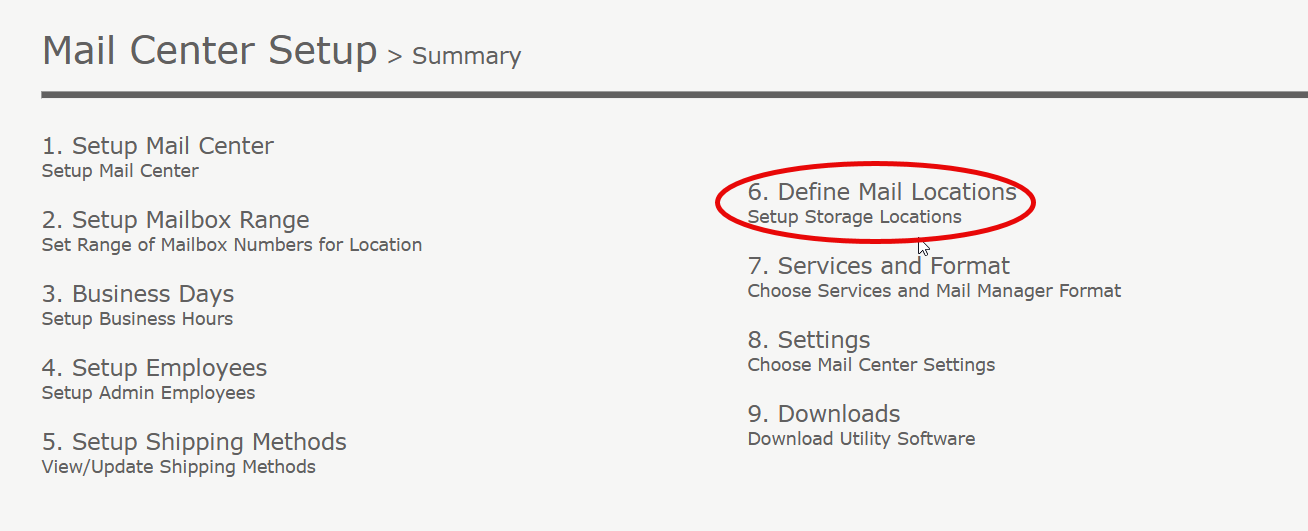
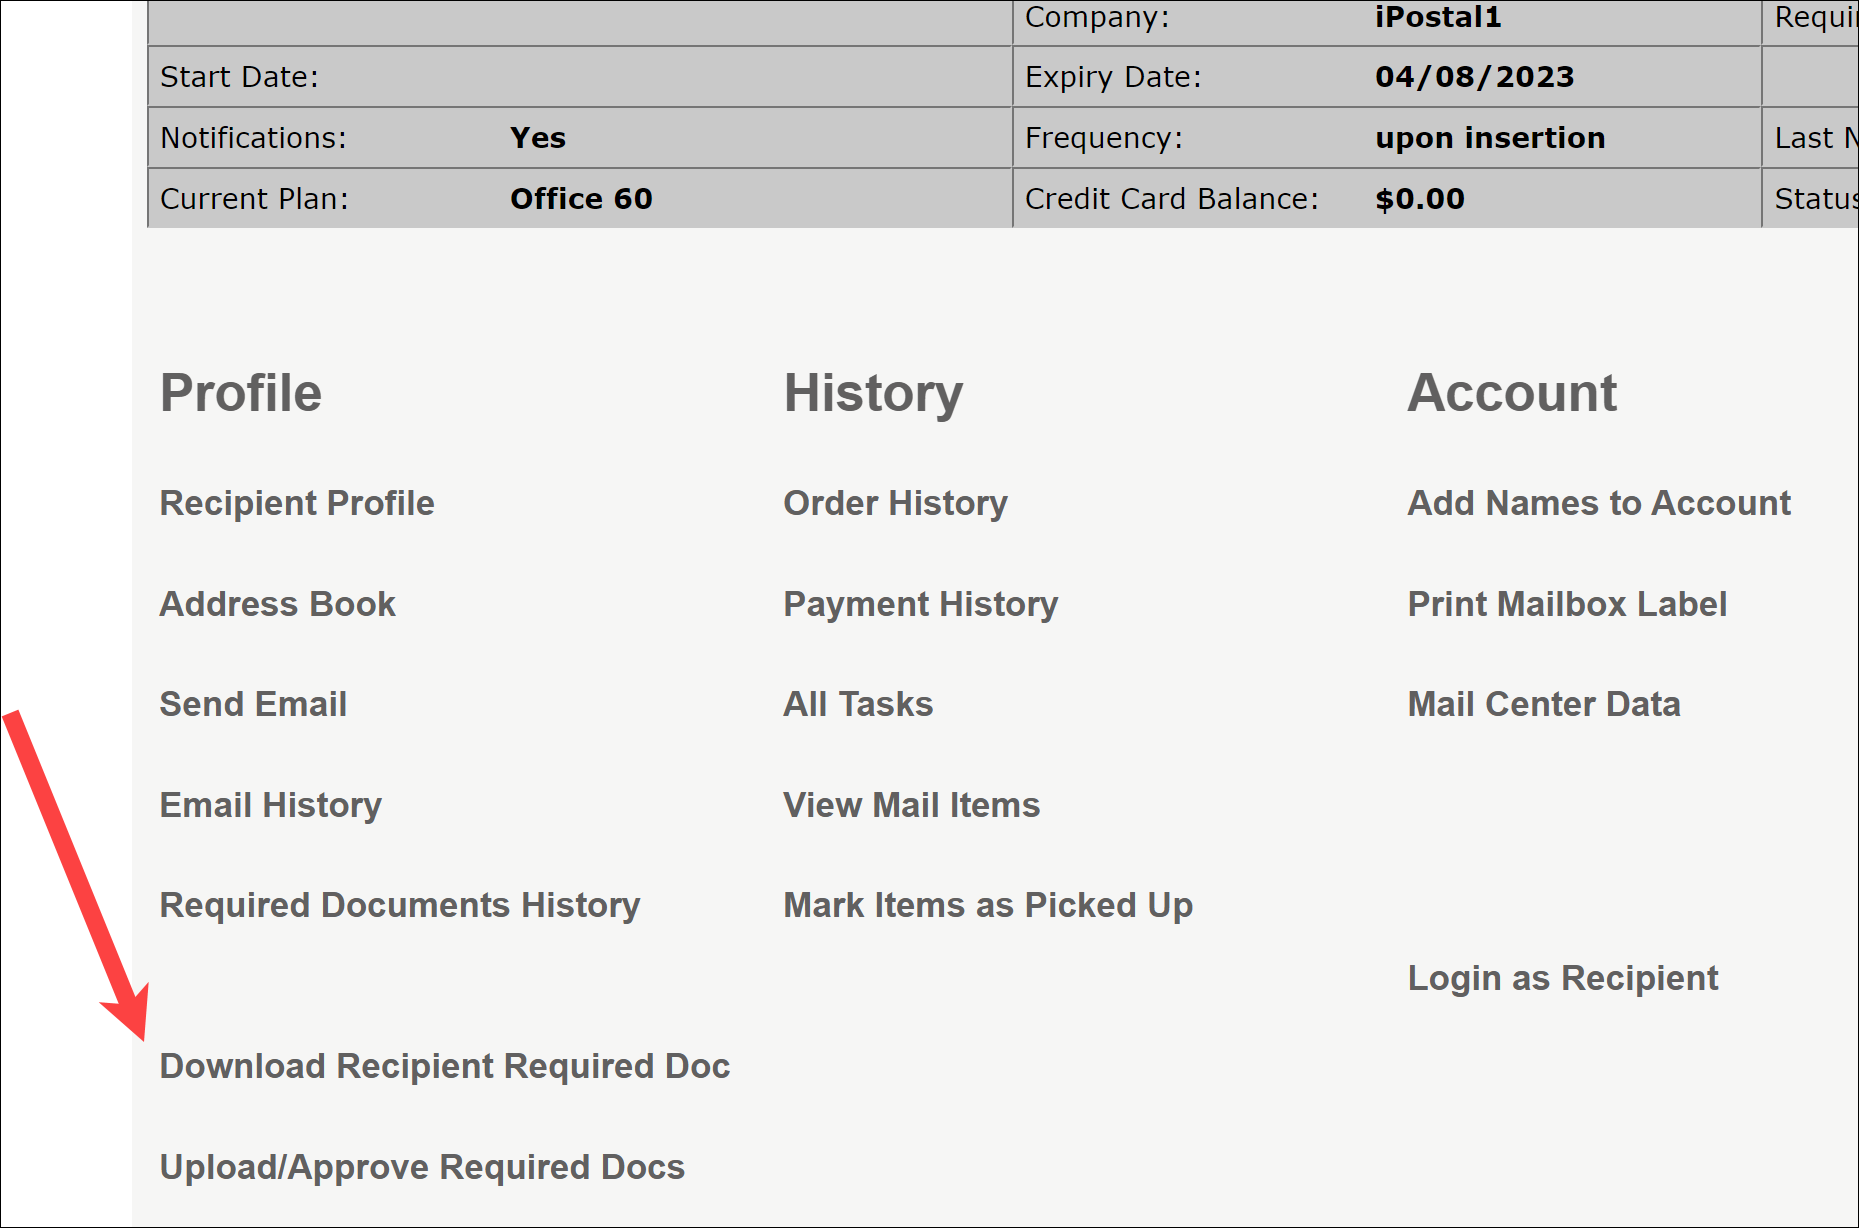
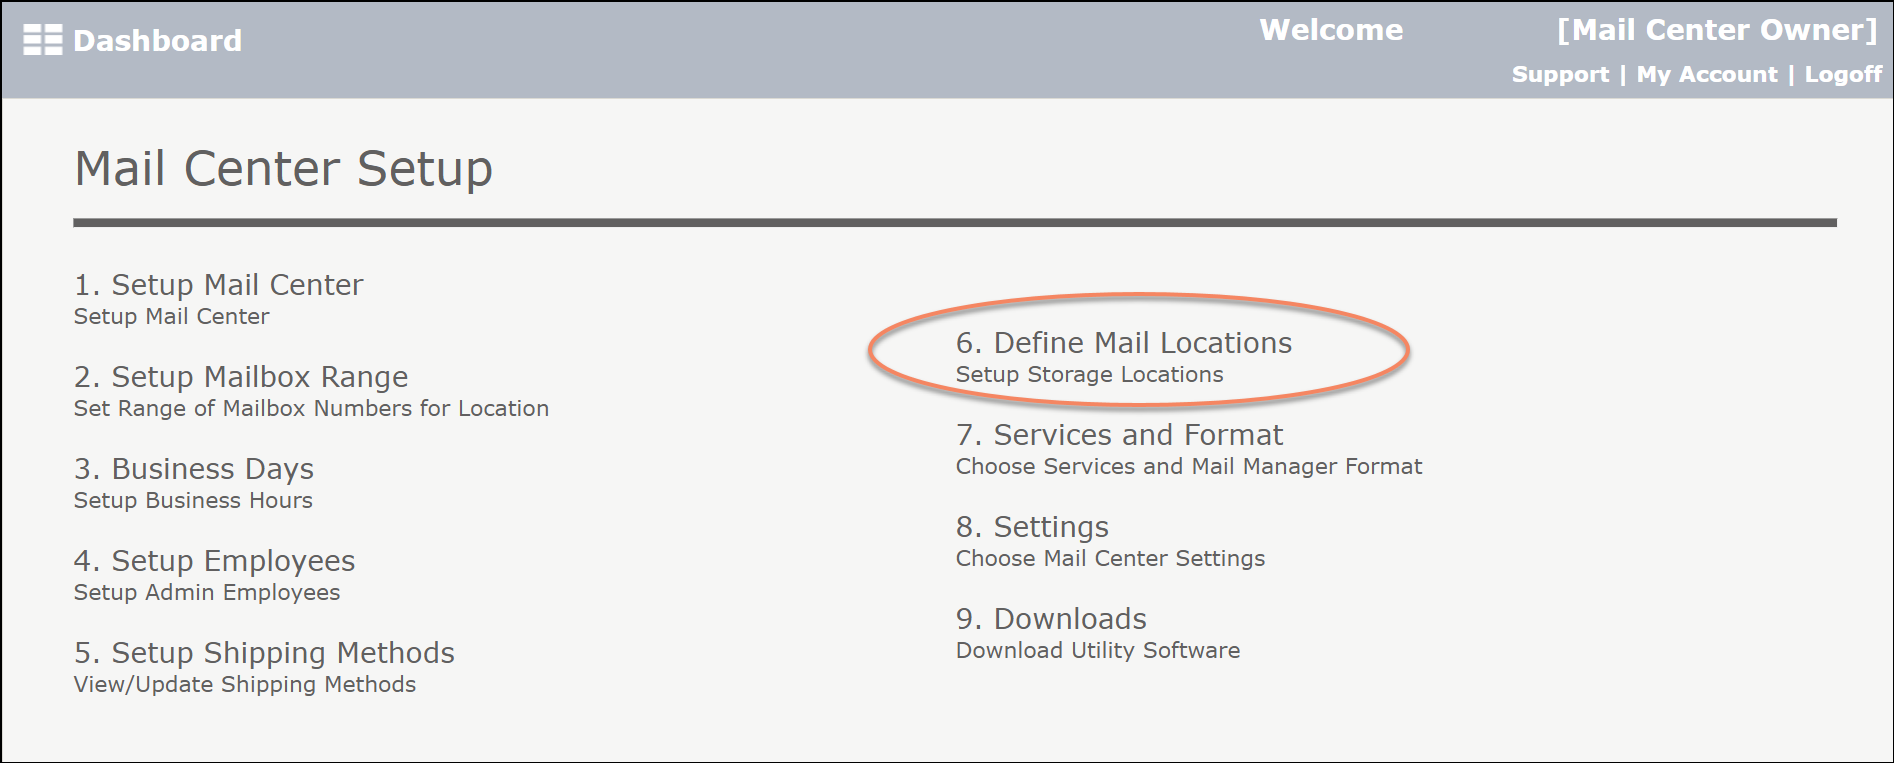
 3. You can choose to customize and Add your own locations.
 4. To customize the locations based on your office setup, enter the location name and level and click "Insert".
 5. Once your locations are setup, click "Print Mail Locations".
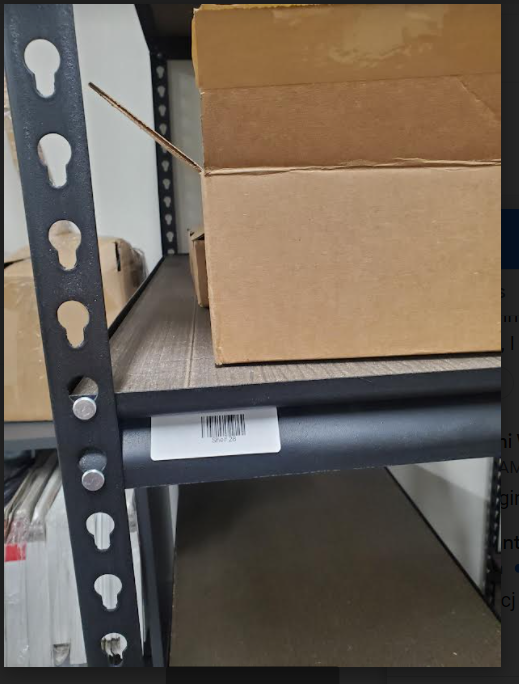
 6. Next, Select the Mail Locations that you would like to print labels for.
 7. Labels with a bar code will print. Stick the label on the shelf location.


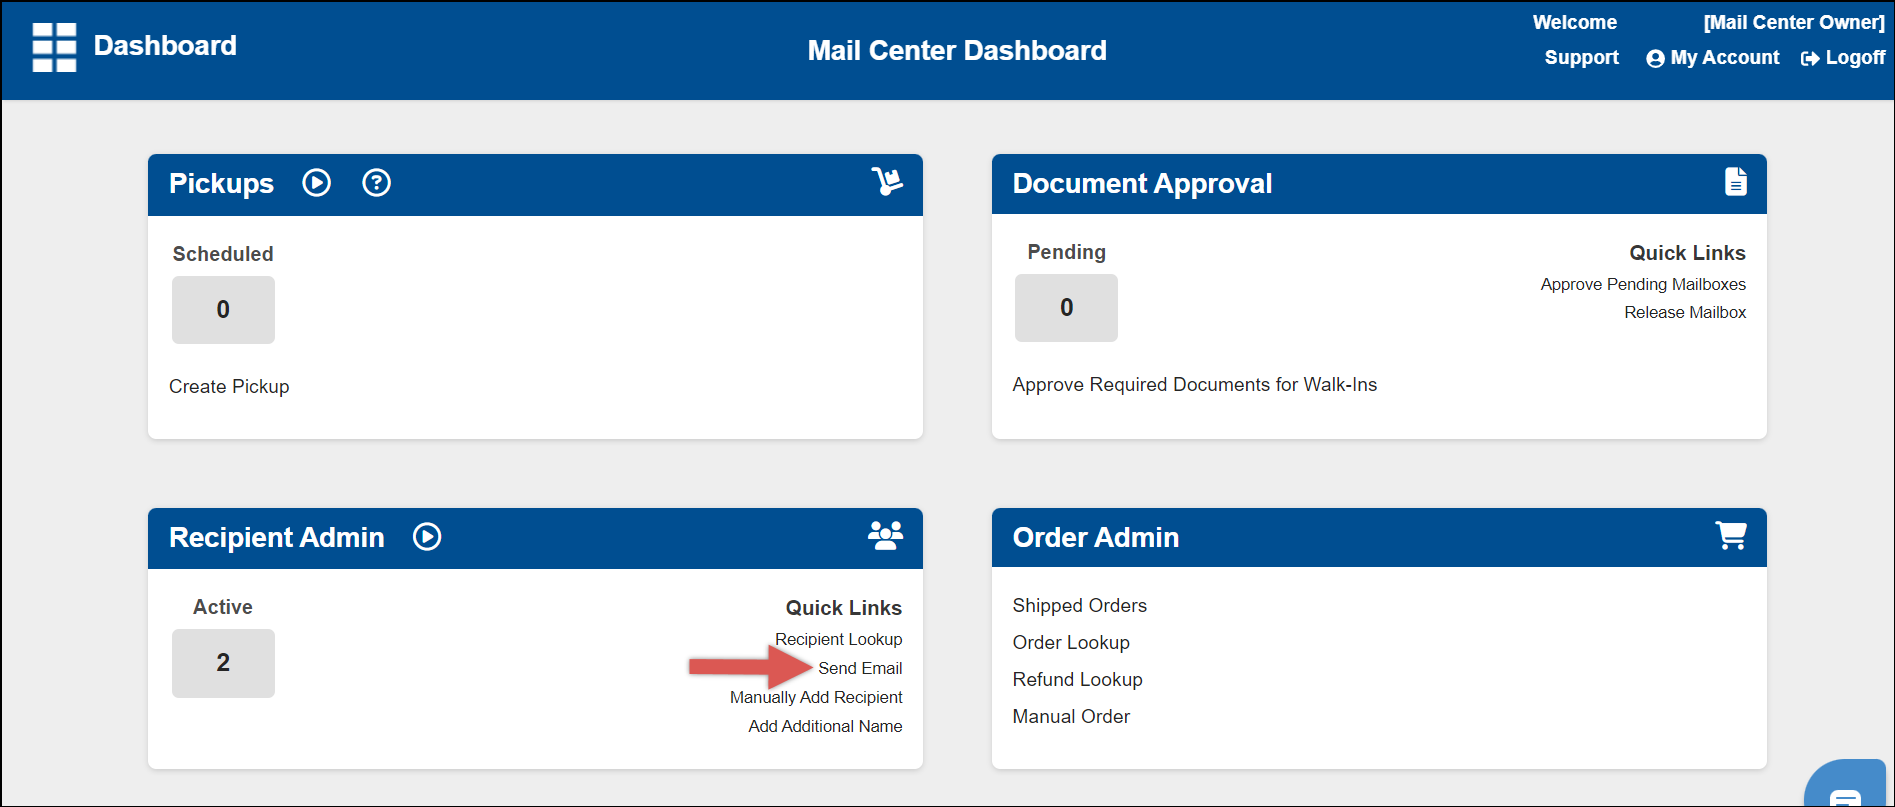
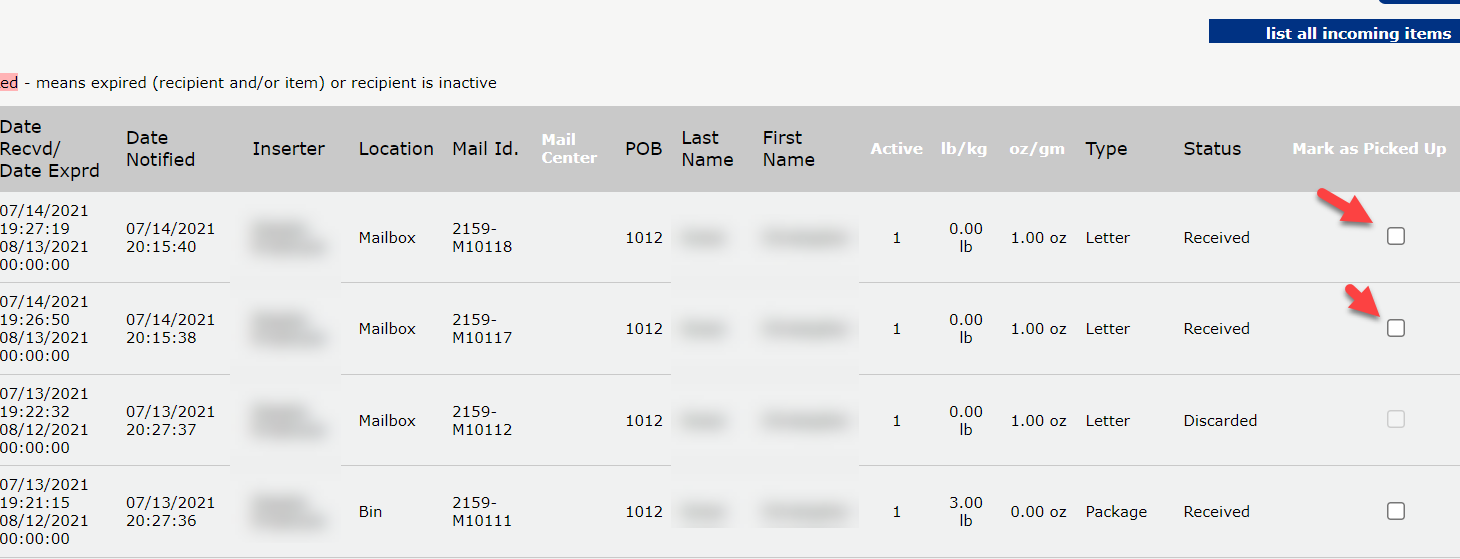
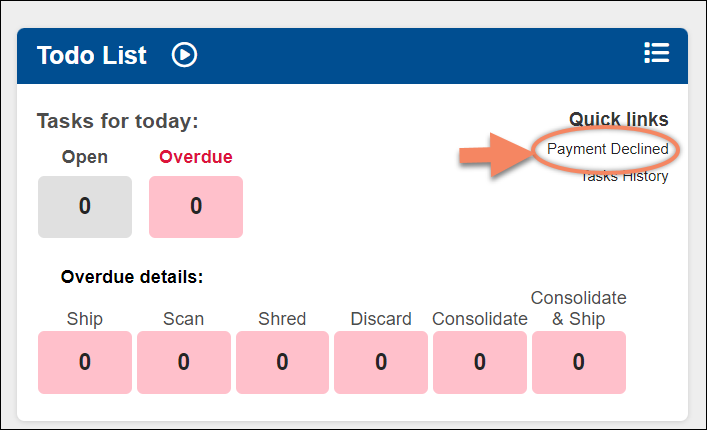
 2. Under History, click on "Mark Items as Picked Up".
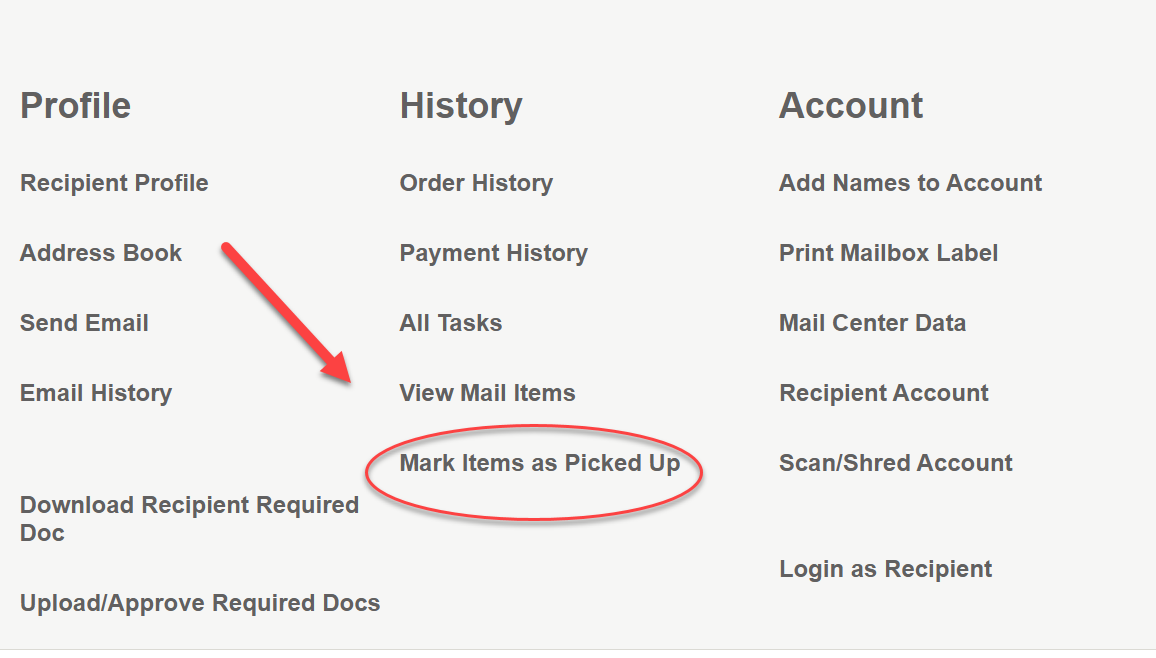


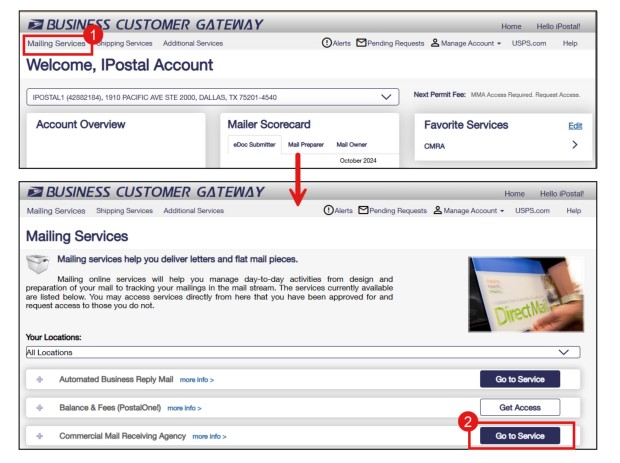
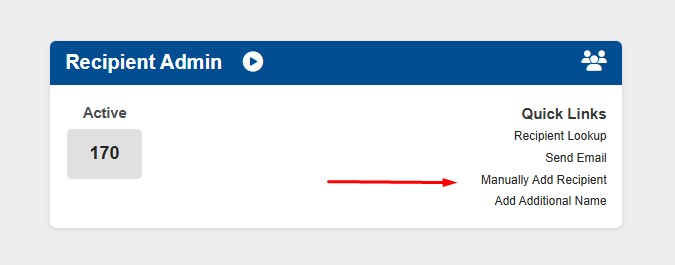
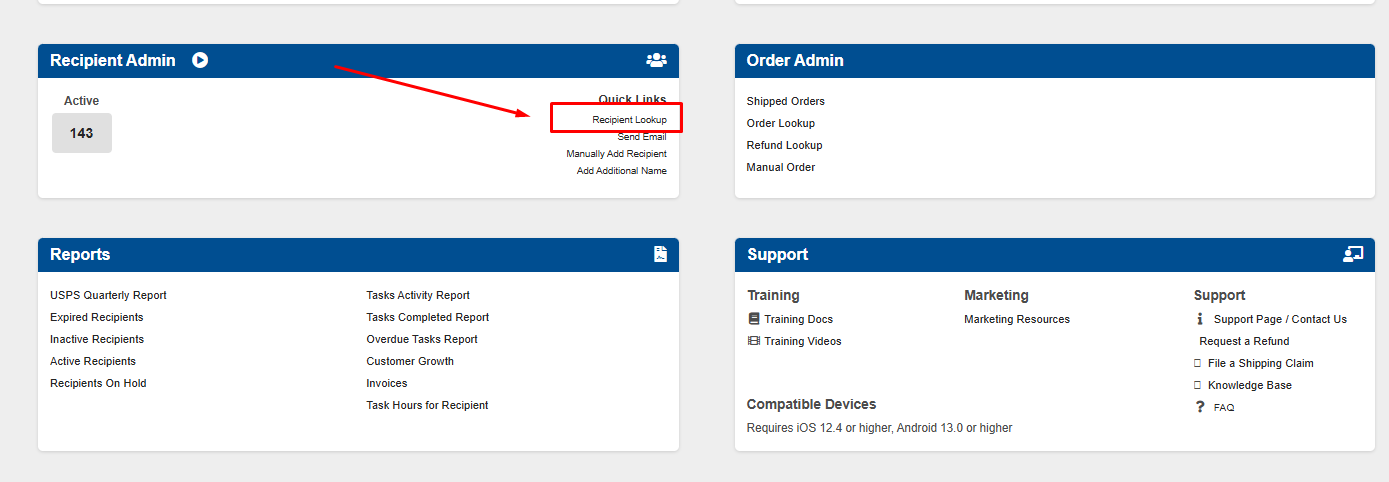
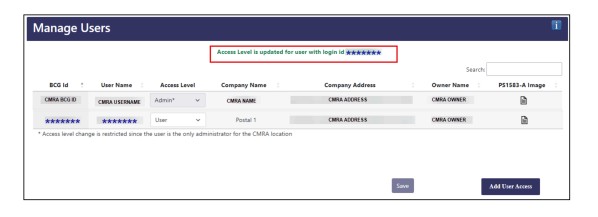
 4. Click "Add User Access" to continue.
 5. Select the CMRA location that you'd like to grant user access to:
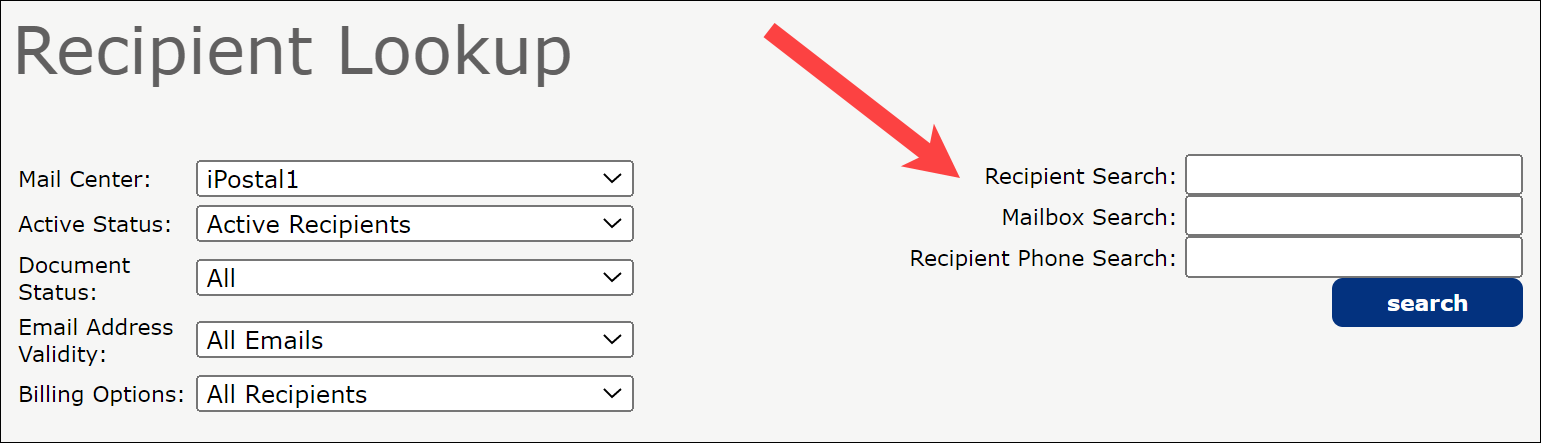


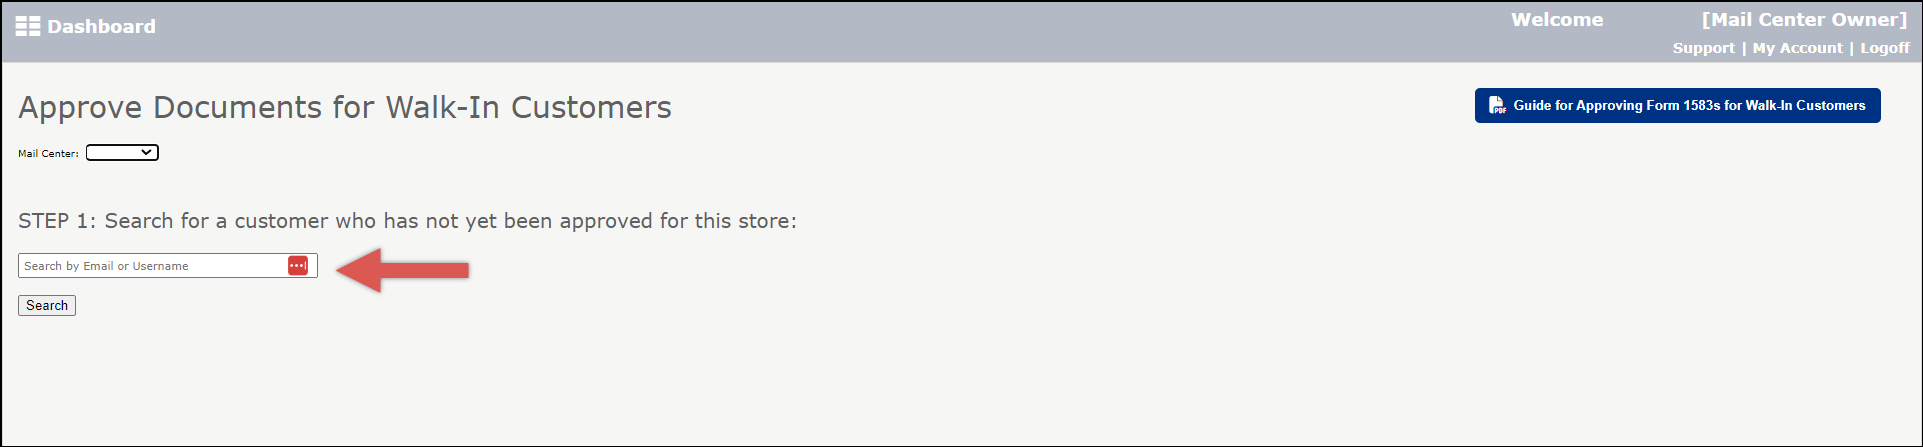
 2. Enter the mail ID or the recipient's name and click "Search". Click on the mail item below.